The AppLink Web API has a Developer Portal that provides a pre-production testing environment - a Sandbox. The Sandbox enables testing and experimentation with the AppLink Web API. The Sandbox provides a way to test how the payload and documents are submitted using the AppLink Web API, and to get familiar with the type of responses the API may return.
IMPORTANT: The Sandbox is not intended to be an example of how you would use the AppLink Web API in your own production environment. Using the API in production will require you to determine: how to retrieve the required information from your internal systems and processes; how to provide that payload in the proper format along with the supporting documents to the AppLink Web API. Your developed application and processes will also need to handle the API responses in order to complete the Merchant Application. How you use the API and provide the required information is up to you to design.
This quick start uses the AppLink Web API basic process described in Overview of the AppLink Web API process to demonstrate how the API operations work.
This example uses:
- the Shared Test API key test:Testing123$
- the sample payload in Appendix 5 – Payload Example
- a sample document: Sample Document for Uploading.pdf
Step 1: Open the Sandbox
Bring up the AppLink pre-production testing environment on the Developer Portal Sandbox Tools page: https://developer.nuvei.com/applink-api/apis
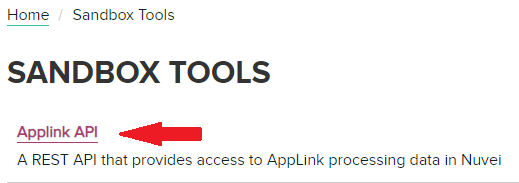
You can also access the sandbox from the Innovation Center Main Menu. Select Sandbox Tools then AppLink API:
Step 2: Log into the Sandbox
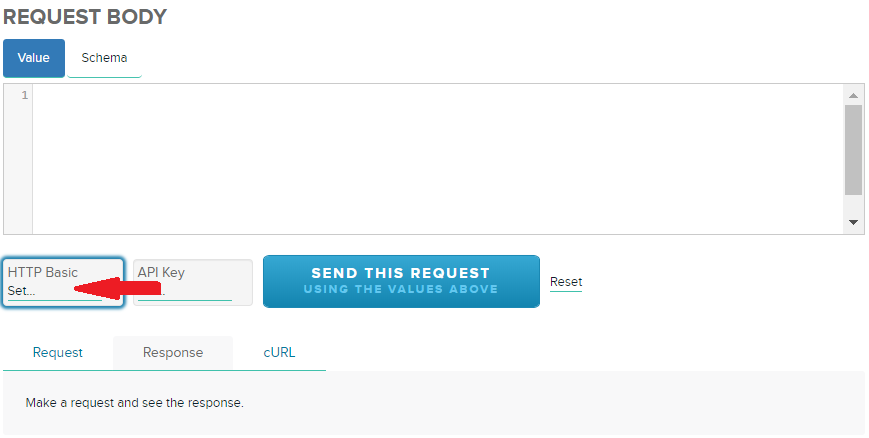
Select HTTP Basic to set Authentication, as shown below.
Enter the Shared Test api-key test:Testing123$. Then, click Save to return to the sandbox.
Step 3: Enter the Payload
The POST operation /Application/US is used to send a JSON formatted payload with all of the Merchant Application data.
Paste the Payload provided in Appendix 5 - Payload Example within the Request Body section of /Application/US, then click Send This Request.

Step 4: Get The ApplicationId
Clicking Send This Request sends the payload data to the API. The top of the page may display "Working..." for several seconds during this process.
If you entered an invalid api_key, you will get the message INVALID CREDENTIALS with a response code 401.
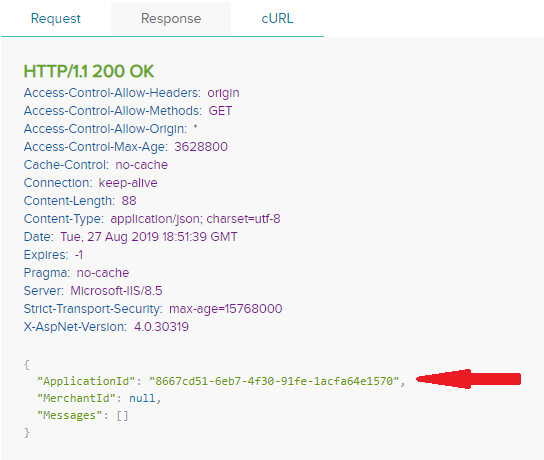
Otherwise, the API returns the unique identifier ApplicationId for the Merchant Application payload that was submitted. The Sandbox will show the CURL used to execute the API along with the response information, including the Response Body. Note: CURL is a command line tool that can be used in UNIX for getting or sending files using URL syntax.
As shown in this example, the Response Body provides the ApplicationId, which you should note down as it will be needed in future steps.
Step 5: Load Documents related to the Merchant Application
This step enables you to upload the required merchant documentation, such as the merchant application form or a void check. The ApplicationId generated above is used to associate the documents to the payload.
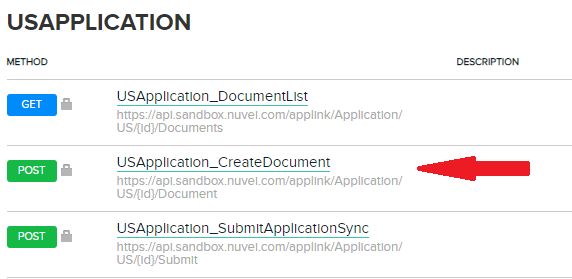
Step 5.1: Use the POST USApplication_CreateDocument (United States Application)
Return to the AppLink Sandbox Tools page. Click the USApplication_CreateDocument hyperlink as shown below:
Step 5.2: The following screen appears. In the Resource URL section, paste the ApplicationId generated from USApplication_CreateApplication in the {id} area as shown by Arrow A.

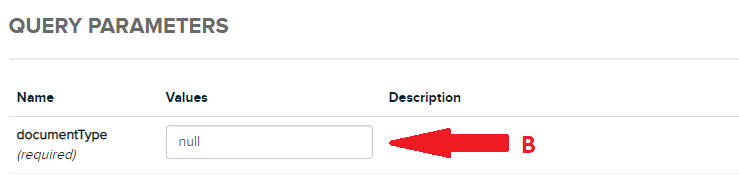
Step 5.3: In the Query Parameters section, define the document type that best describes what is being attached, based on the list below:
- ApplicationAndAgreement
- ProcessingStatements
- ProofOfBusiness
- VoidCheck
- EquipmentForm
- NonProfitEvidence
- Other
For this example, enter Other into the Values field indicated by Arrow B.
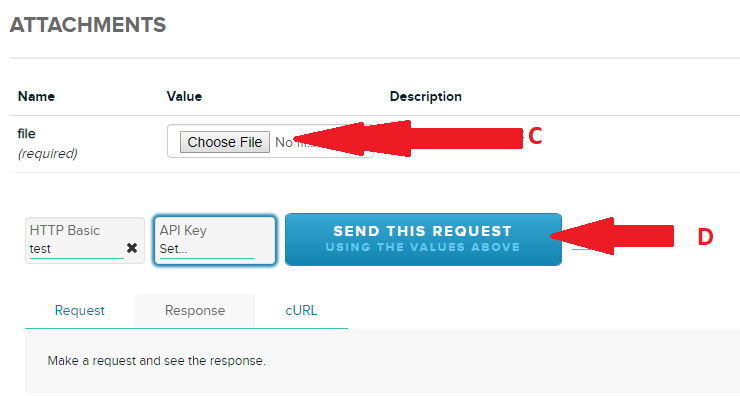
Step 5.4: Click Choose File indicated by Arrow C to locate and add the digital file that represents the document from your local file system. Digital file types accepted are:
- XML
- JPG
- PNG
- TIFF
- TXT
- DOC
- DOCX
- ZIP
- JPEG
- WAV
Any other file extension will cause the API to respond with a 401 Fail response.
For this example, click Choose File (as indicated by Arrow C) to select the file Sample Document for Uploading.pdf that you downloaded earlier.
Only one document file can be uploaded at a time, but you can repeat this operation as many times as needed to upload all the required supporting documents.
When you have finished uploading documents, click SEND THIS REQUEST as indicated by Arrow D.
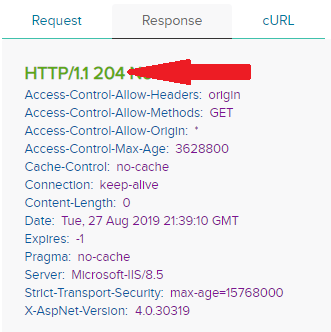
If the upload is successful, you will receive a response code of 204.
Step 6: Submit the Merchant Application
This step validates the payload information, then submits the merchant application to the onboarding system. If you utilized the Shared Test payload and the file provided, this operation should be a success.
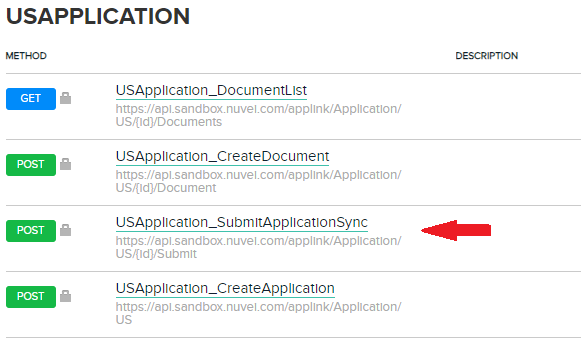
Step 6.1: Use the POST USApplication_SubmitApplicationSync (United States Application)
Return to the AppLink Sandbox Tools page. Click the USApplication_SubmitApplicationSync hyperlink as shown:
Step 6.2: In the Resource URL section, paste the ApplicationId generated from USApplication_CreateApplication in the {id} area:
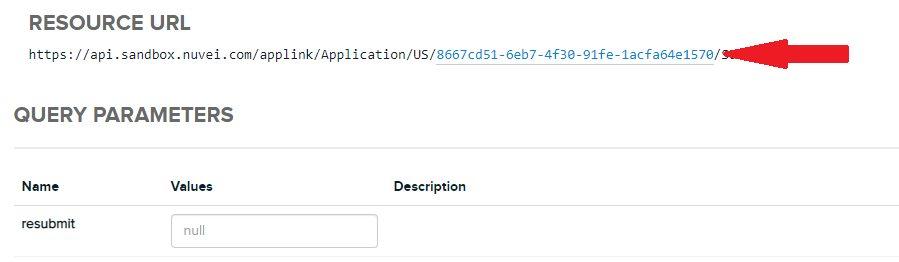
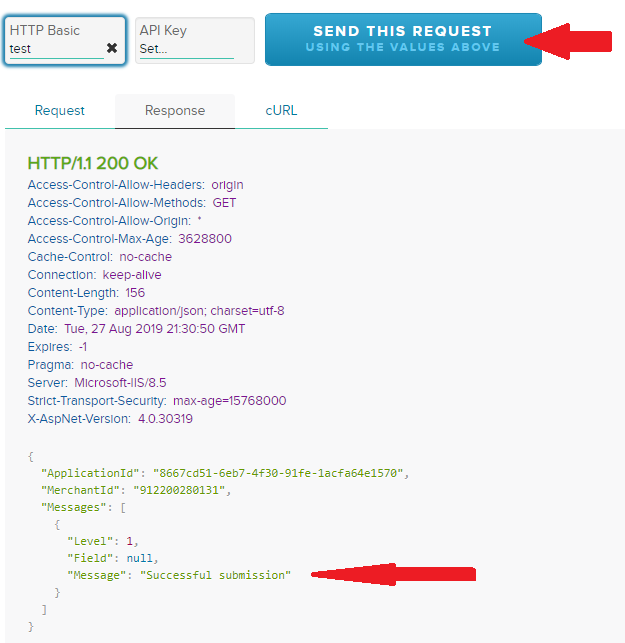
Step 6.3: Click Send This Request.
A response code of 200 indicates the Merchant Application was successfully submitted.
This Sandbox example shows you how the AppLink Web API is used to submit Merchant Application “payload” data and supporting documentation.
This is an example of what your application will be required to do in order to integrate with the AppLink Web API.